


Orange Unit: A Person-Centered Launch
4B: Meet the Microcomputer
Background Knowledge Probe
- While looking through the list of toolkit items found in this textbook’s Introduction, what was the first thing that came to mind when you saw it included a Raspberry Pi? What inspired those thoughts regarding the Pi?
- When you now compare and contrast a Raspberry Pi with your daily use computers, what are your current thoughts? Why have or haven’t they changed?
- What design choices and design objectives might have inspired the Raspberry Pi’s layout function, look, and feel?
Technical Introduction
As an aside, I was one of the fortunate kids who, back in the mid-70s, began learning how to code computers to use them to do things I valued. In this video below, I highlight some of this history, recounting my work with a teletype machine and acoustical modem to connect to a server, a punch card interface with that server, and programming with a Commodore 64 desktop computer.
The Components of the Raspberry Pi
The Raspberry Pi 3 computer used throughout this book is built using a reduced instruction set computing (RISC) architecture known as ARM. This and similar architectures have slowly taken over the computer world, allowing us to do more for less. This is because RISC-based architectures require fewer than complex instruction set computing (CISC) architectures, such as those used in most desktop and laptop computers.
As a result, this has also opened up new computing opportunities, such as systems-on-chips (SoC) that bring together memory, input/output controllers, processors, radios, etc. into a single integrated circuit. The outcome is typically lower costs, power consumption, heat dissipation, and potentially lower environmental impacts.
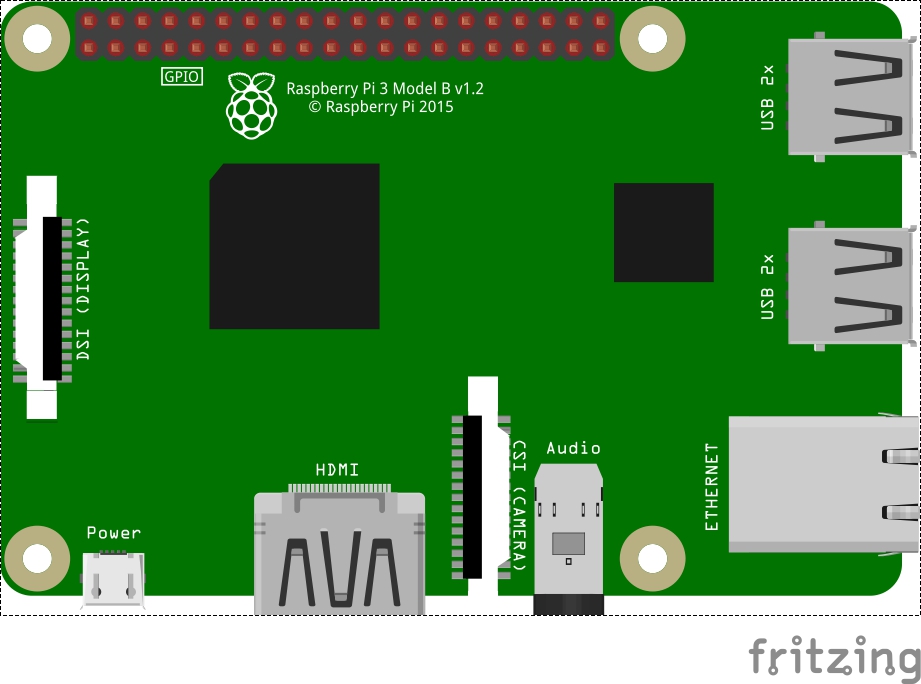
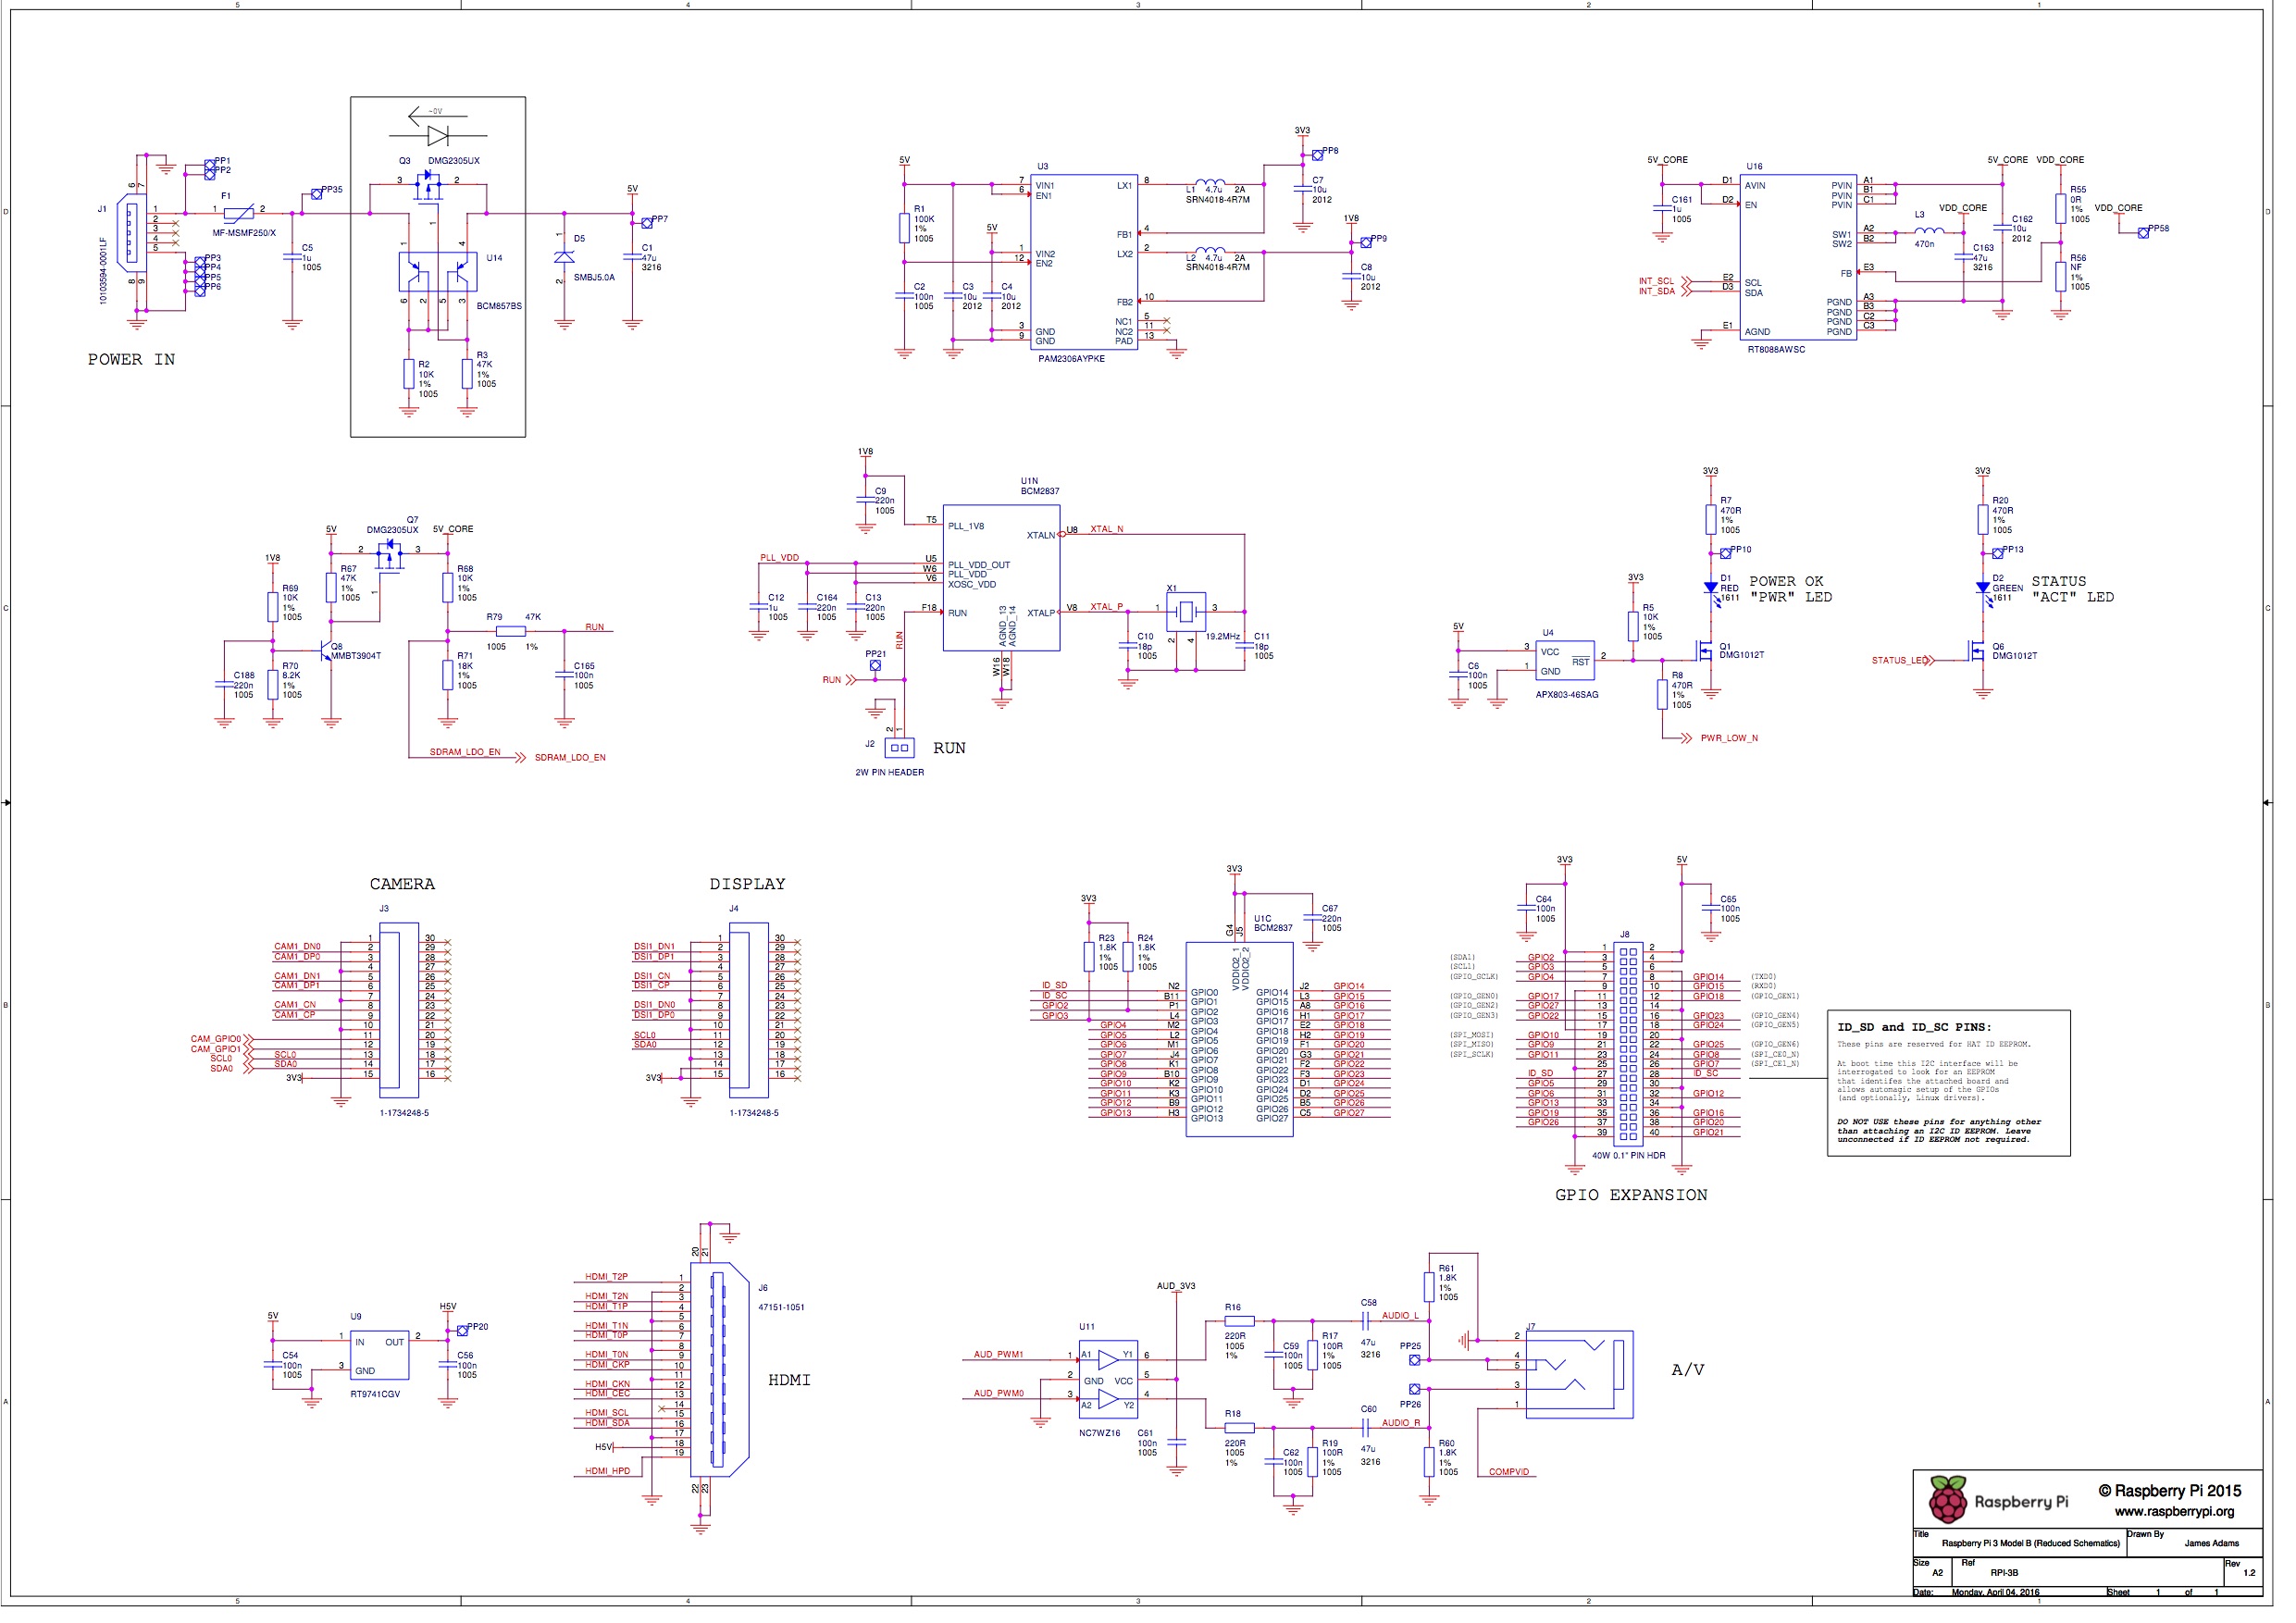
Take a few minutes to look over the hardware of the Raspberry Pi 3 Model B that has come with your toolkit.[2] This includes:
- A Broadcom BCM2837 system-on-chip (the largest of the black, square integrated circuits on the printed circuit board). Built into this SoC is:
- Quad-core 1.2 GHz 64-bit ARM cortex A53 CPU
- Full HD 1080p, H.264 Video Encode/Decode, 400MHz VideoCore IV Graphical Co-Processor Unit
- 1 GB SDRAM
- 512 KB cache memory
- One of the many smaller integrated circuits is a Broadcom BCM43438 chip that provides:
- Wireless LAN
- Bluetooth 4.1
- Next to pin 1 of the GPIO, just above the “Made In” label, is the chip antenna for wireless LAN and Bluetooth signals.
- Just off from the USB ports, you’ll find the SMSC LAN9514 chip, providing the controller for 10/100 Ethernet connectivity and four USB channels.
- A variety of I/O connectors, sockets, and ports, including:
- 4 USB 2 ports
- Full size HDMI port
- Micro SD port for loading an operating system and storing data
- 10/100 Ethernet port
- 4 pole stereo output and composite video port
- 40-pin extended GPIO connector
- Camera Serial Interface Type 2 (CSI) camera port used to connect CSI-type cameras with the SoC chip
- Display Serial Interface (DSI) port used with a range of LCD and similar mobile display technologies
Exercise: Reviewing the Raspberry Pi Computer
Using these resources, create your own list of the physical components and operating system of the Raspberry Pi:
- Input/output devices, such as types of USB ports, Thunderbolt ports, audio, camera, Ethernet, Bluetooth, card readers, etc.
- Type and amount of random access memory (RAM)
- Storage devices
- Central processing unit (CPU) and, if included, graphic processing unit (GPU)
- Power source
- Operating system (OS) type and version.subversion/edition
- Windowing system, desktop environment, and themes/skins. For many computers today, these are highly integrated, so you may only see this as a singular graphical user interface system.
Now, take a few moments to compare and contrast some of the installed applications on the Raspberry Pi (e.g., web browser, word processor, games) with similar ones on your laptop. As you do this, consider:
- In what ways is a given software on my laptop a better application based on specific design specifications?
- In what ways is a given software on my laptop a better application because of the hardware of my laptop?
- In what ways is a given software on my laptop a better application because of my familiarity with its design?
Repeat these three questions, this time considering in what ways the application might be better on the Raspberry Pi than on your laptop.
Wrap Up
The next task is to configure your own Raspberry Pi in preparation for the technical exercises to come. Depending on the tools at your disposal, there are numerous ways to accomplish this.
- Raspberry Pi learning resources and documentation are licensed under CC-BY-SA 4.0. ↵
- Fritzing breadboard graphics are licensed under CC-BY-SA 3.0. ↵
An electronic device using a program of instructions to collect, store, process, and transmit data. Many of our daily use devices, including automobiles, mobile phones, home routers connecting a building's network to the wider Internet, the growing number of "smart" internet-connected devices like watches, building heating, ventilation, and air conditioning (HVAC), and light and sound systems, and our laptops and desktops are all built using computers. While some use a more significant combination of integrated circuit processors and potentially multiple printed circuit boards, increasingly these parts are more tightly integrated into a single printed circuit board and a reduced number of integrated circuits. Depending on design and use specifications and marketing, these may be referred to as microcomputers, microcontrollers, microprocessors, or System on a Chip (SoC). The Raspberry Pi is a general purpose microcomputer with integrated System on Chip central processor and other microprocessors.
A program is software containing a series of coded instructions to control the operation of an electronic device (noun), and the activity of creating coded instructions in support of a particular task of an electronic device (verb). Programs are created using a programming language that includes rules and a system of symbols. The language must conform to these rules of syntax and semantics, but unlike many commonly used physical electronics, they often are not created as part of a standards body. A programming language may be developed from scratch, but more often are built within a programming family, using previous programming languages as a base starting point, and may rely on another programming language to effectively function on a machine. This book explores several popular programming languages:
MakeCode: A web-based code editor developed by Microsoft, adapted specifically for the Circuit Playground Express in collaboration with Adafruit. It provides a block editor similar to the Scratch visual programming language developed by MIT Media Lab Lifelong Kindergarten Group. (Scratch is installed by default in the Raspberry Pi OS and with the available extension can be used with the Raspberry Pi GPIO.) The MakeCode programming language itself is TypeScript, a high-level programming language superset of another language, JavaScript. MakeCode is edited in a web browser at https://makecode.adafruit.com/ and provides a simulator of a Circuit Playground Express. Programs can be downloaded and flashed, that is, written to the Read-Only Memory (ROM) of the Circuit Playground Express, overwriting the previous MakeCode program on the physical device.
Python: A popular general-purpose programming language with a relatively easy-to-use syntax. A range of Integrated Development Environments (IDE) are available in which code is written, tested, and debugged. The Raspberry Pi comes with IDLE and Thonny, two commonly used Python IDE bundles.
PHP Hypertext Preprocessor: A scripting language used with web server applications in support of web development, as well as a general-purpose programming language.
SQL (Structured Query Language): Used within database management system servers, like the open-source relational database management system MySQL, which can be installed and used in the Raspberry Pi OS.
Electrical switches are devices used to move between closed position, in which a current is passed through a circuit, and open position, in which the current is not passed through. A classic example is a light switch, in which a closed position would turn on a light and an open position would turn off that light. Closing the switch completes the circuit. The kit in this book includes three momentary closed tactile pushbutton switches that can be used with the breadboard, as well as three additional switches built into the Circuit Playground Express. Pressing on the round button momentarily closes the switch, temporarily passing current from one leg to the other on the switch. While the momentary switches used with the breadboard have four legs, the two legs on one side are connected together, as are the two legs on the other side. In practice, that makes these two-way switches.
Small electronic switches allowing control of electrical flow within a circuit without using programming code.
